Police ballistic helmets: What do law enforcement officers really need to know?

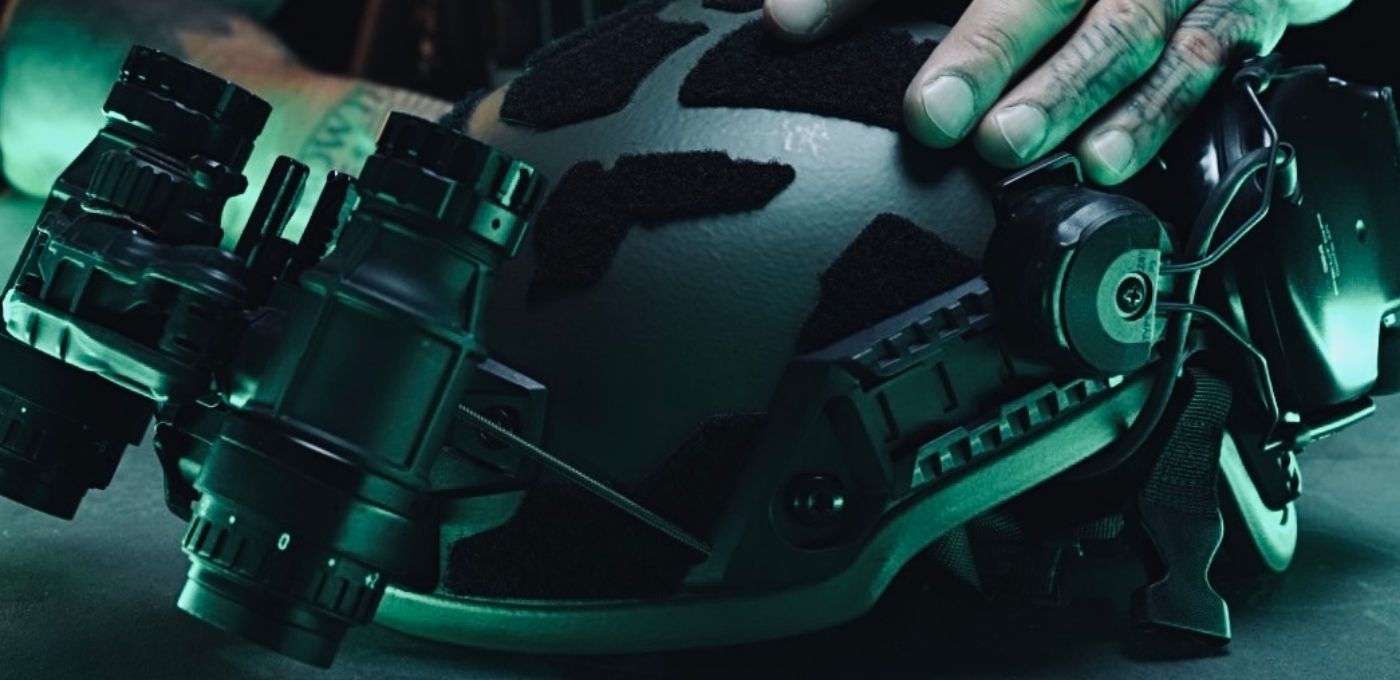
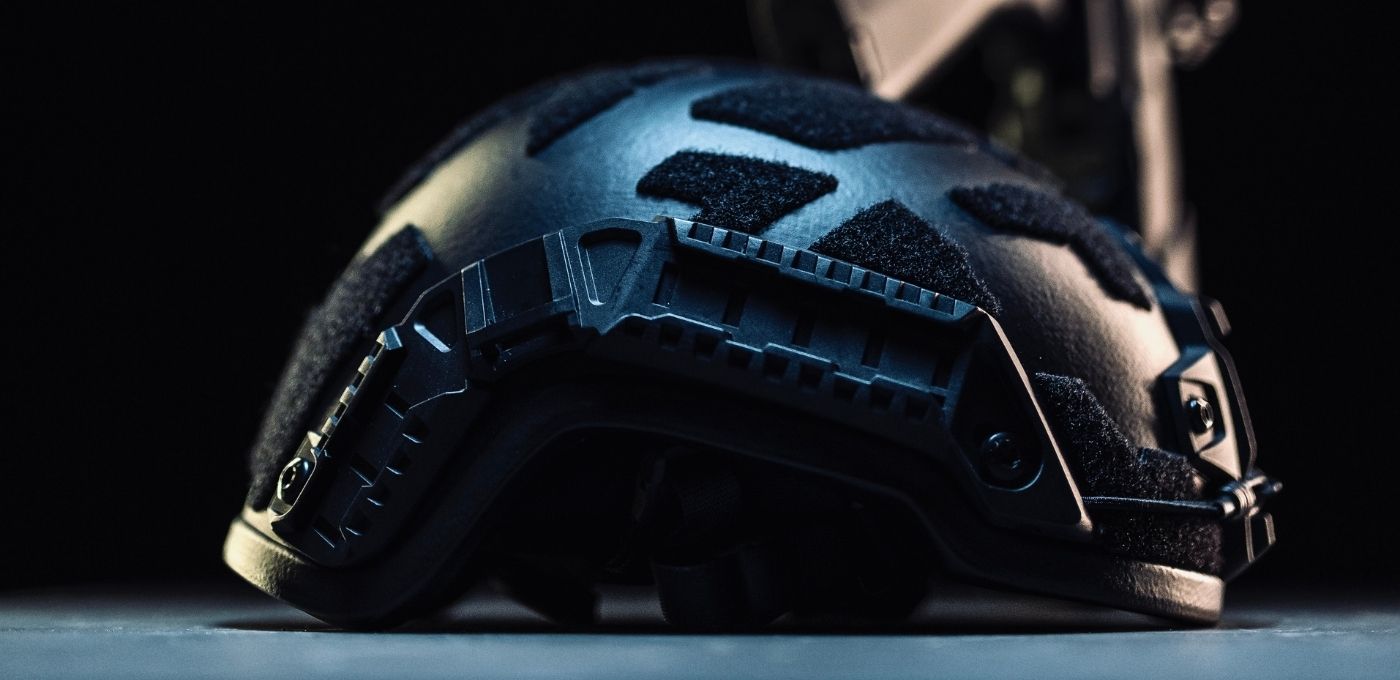
If you’ve ever glanced at the Velcro on a ballistic helmet and thought, “Just some fuzzy patches?”- think again. That soft loop field is the difference between mission-ready and “where did my strobe go?”
Velcro turns an ordinary helmet into a modular, gear-carrying powerhouse: one moment it’s holding your IR patch, the next it’s wrangling battery packs and cables. And yes, it occasionally doubles as a high-speed lint collector when you least expect it. At Protection Group Denmark, we like to think of helmet Velcro as the quiet workhorse of tactical gear – always ready, always reliable, and occasionally full of sand.
So, it’s easy to say that… Ballistic helmet Velcro is more than a mere accessory – it’s the backbone of modern helmet modularity, enabling quick, secure attachment of essential tactical equipment. Whether you’re in military, law enforcement, or rescue operations, a helmet’s Velcro layout can determine how efficiently you adapt to changing missions. Innovations like the PGD ARCH GEN3 Ballistic Helmet set the standard with robust, strategically placed Velcro fields, giving users an edge in both performance and reliability.
In this comprehensive guide, we’ll break down the purposes, kit options, industry requirements, configuration best practices, and maintenance essentials for tactical helmet Velcro.
Our goal at Protection Group Denmark is to empower professionals with innovative, high-quality, and accessible protective solutions – starting with your helmet’s most modular feature.
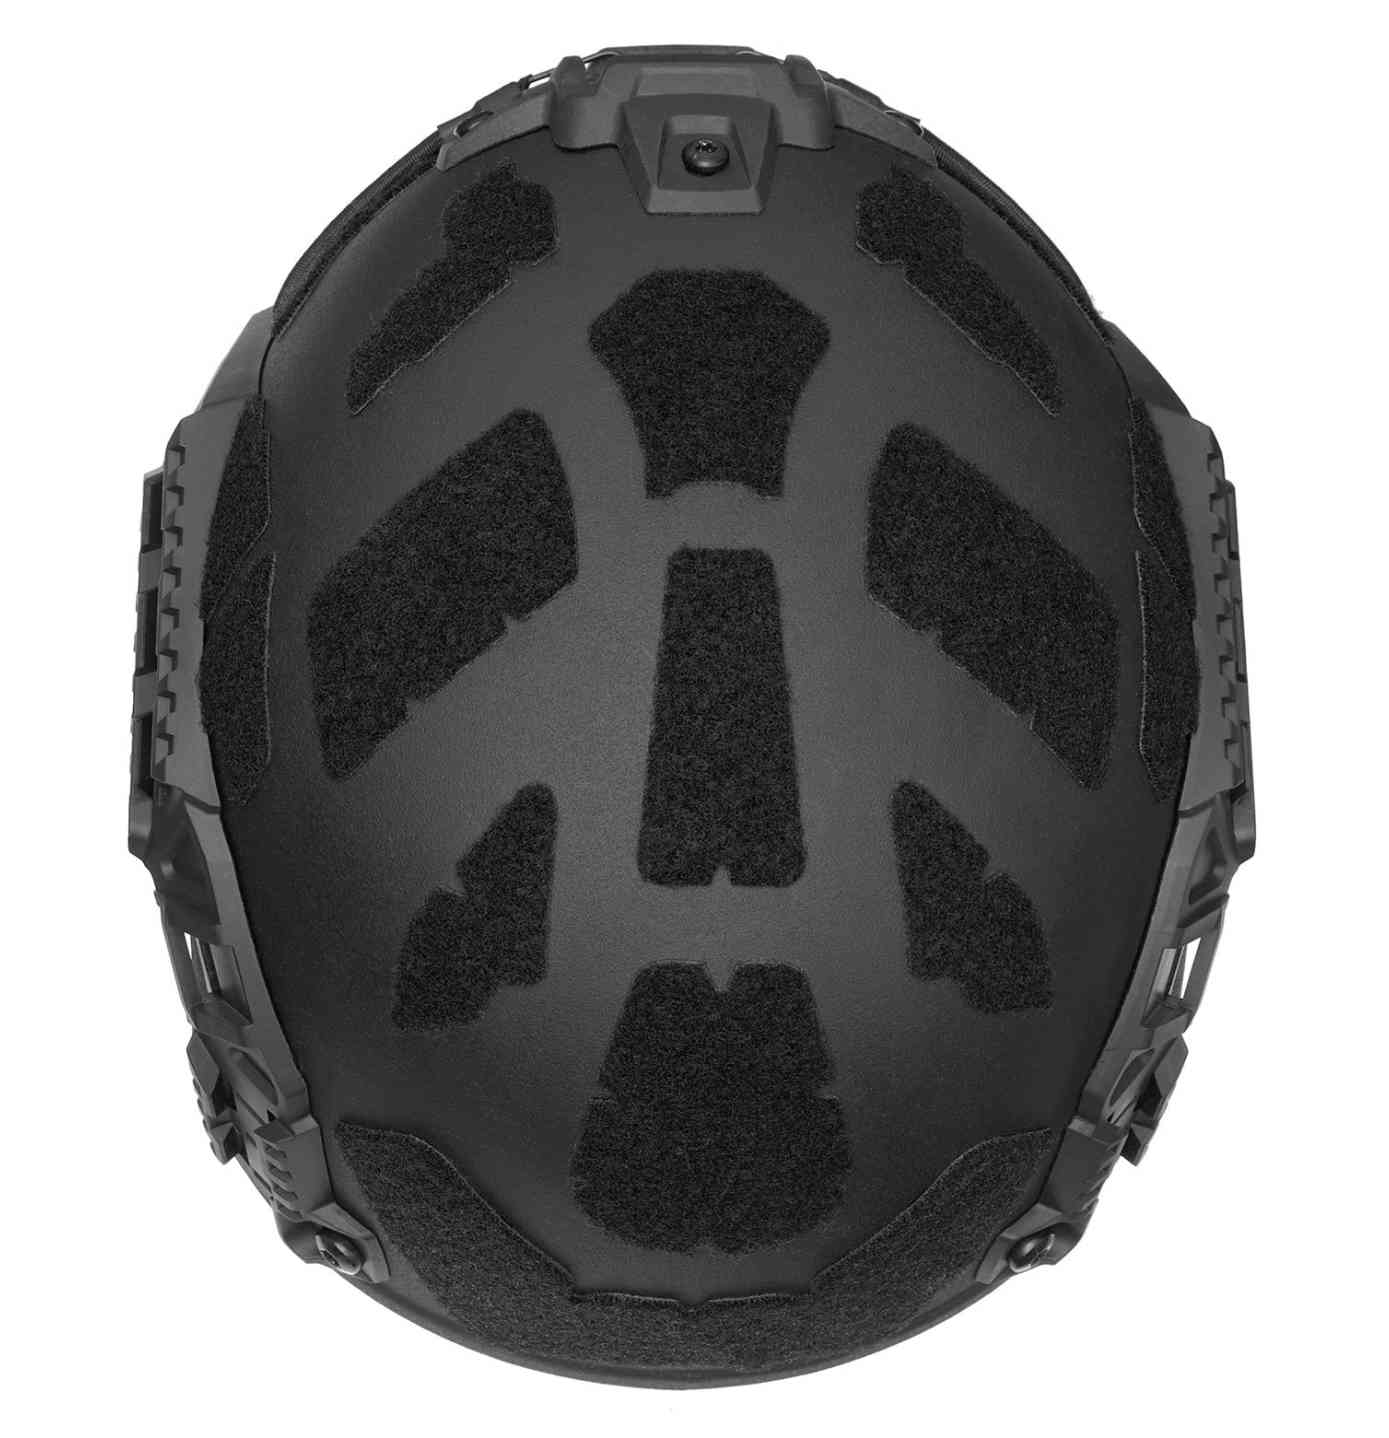
Check out this PGD ARCH helmet from above. You can see the velcro panels.
At its core, ballistic helmet Velcro transforms a protective helmet into a fully modular platform. The primary function of these Velcro panels is to provide secure anchor points for mission-essential accessories. By using loop fields (the “soft” side), users can effortlessly attach and swap components such as IR (infrared) or visible ID patches, counterweight pouches, helmet strobes, chem lights, or camera mounts without modifying the helmet’s structure. This flexibility is vital for users who rely on rapid, silent changes to gear in dynamic operational settings.
Modern tactical helmet Velcro kits are engineered for maximum compatibility with a wide spectrum of accessories. Night vision device (NVG) counterweights, visible and IR identification markers, battery packs, cable management loops, and signal lights are commonly deployed and depend on reliable Velcro attachment. Manufacturers have responded with helmet shells that include carefully mapped Velcro layouts, precisely matching the footprint of popular tactical gear. This approach promotes seamless swapping and repositioning of components, enhancing readiness for a variety of missions.
Mission environments change rapidly – one day you may prioritize communication, another day, silent movement and identification. Ballistic helmet Velcro empowers operators to customize their helmet loadout for each specific scenario. Whether it’s toggling between medical, reconnaissance, or breaching roles, Velcro’s adaptability means accessories can be mounted, removed, or repositioned in seconds. This modularity not only boosts efficiency but also reduces helmet weight, improving user comfort and balance.
The U.S. tactical helmet market has evolved considerably, with most manufacturers now offering standard-issue Velcro kits tailored for their helmet models. A typical ballistic helmet Velcro kit includes pre-cut loop fields designed to fit high-cut, mid-cut, and low-cut helmet shells. These standardized kits usually feature top, side, rear, and occasional front panels, providing ample real estate for the most common accessories.
Beyond standard kits, specialized tactical helmet kits cater to advanced users. These may include:
Kits for the PGD ARCH GEN3 Ballistic Helmet, for instance, are engineered specifically for compatibility with contemporary accessory footprints and include high-grade adhesive backings for secure, field-ready bond strength.
As you can see in the graphic below, we’ve got your PGD helmet covered with velcro panels from back to front.

Back in the day, ballistic helmet Velcro was basically the Wild West – one or two massive panels slapped on like someone had raided the arts-and-crafts bin at full speed. Sure, you could stick a patch or two on there, but it was like trying to park a single bicycle in a football stadium.
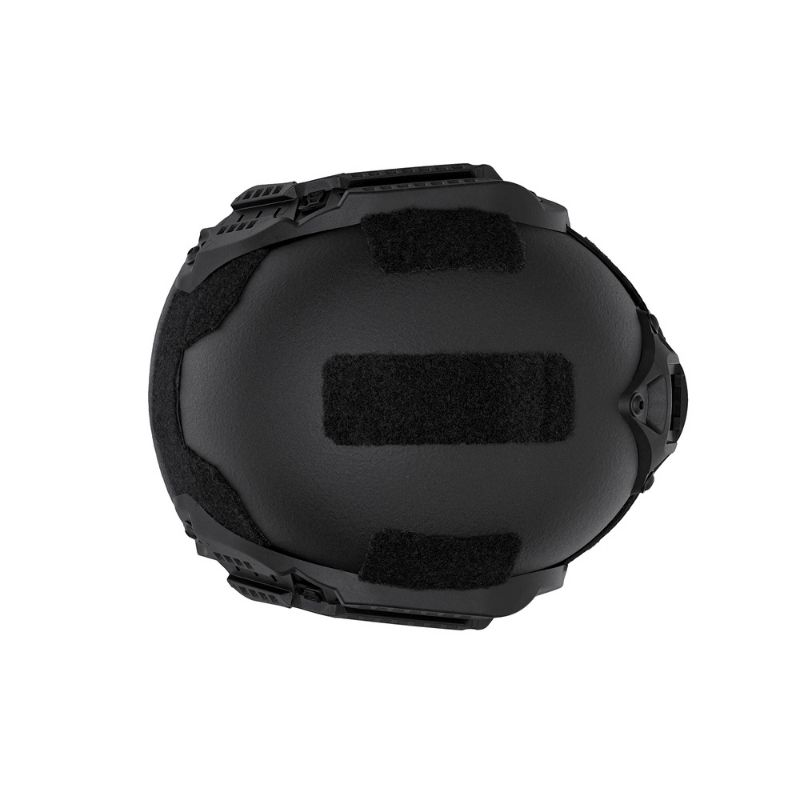
Fast forward to today, and Velcro has gone through its tactical glow-up. Now, our helmets sport multiple smaller, precisely placed panels, perfectly mapped for every mission-critical gadget. It’s like Velcro went from being a clumsy, oversized backpack kid to a lean, organized special ops operator – ready to handle IR patches, strobes, counterweights, and cable management like a pro.
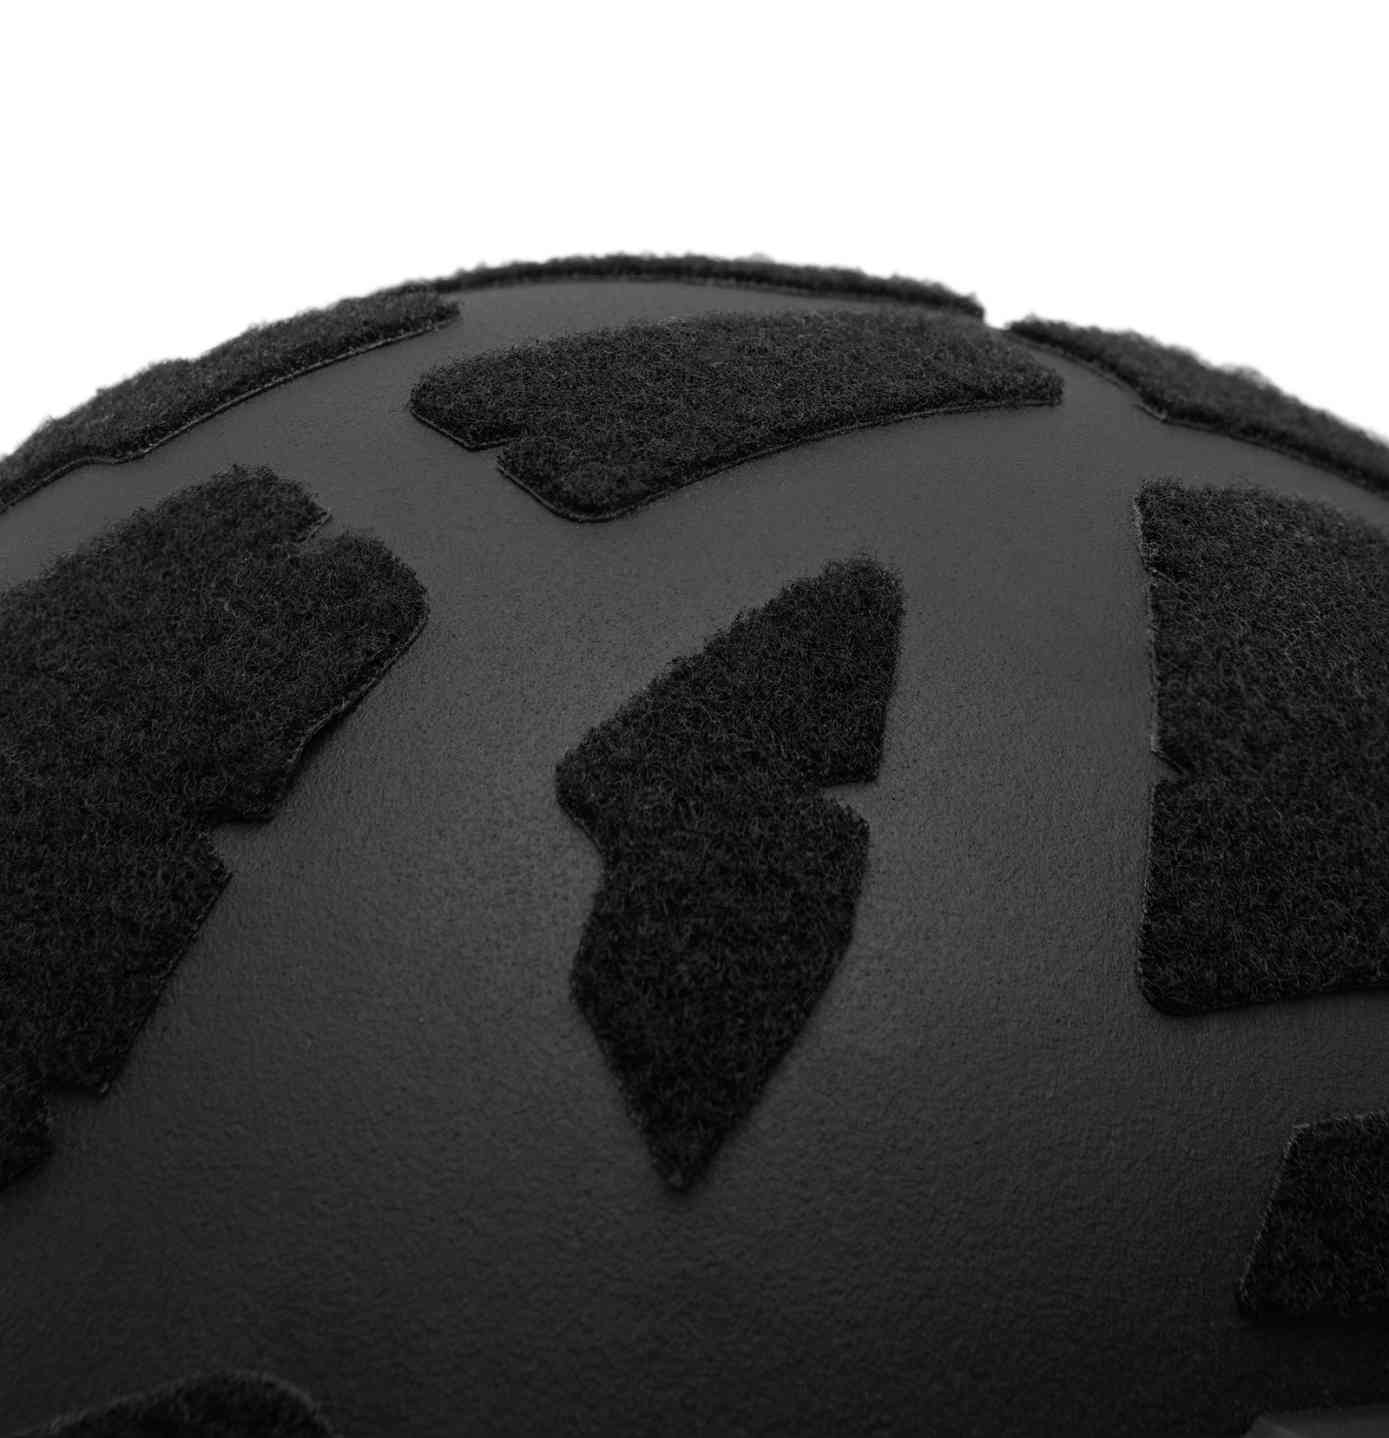
Selecting the right ballistic helmet Velcro kit depends on your operational environment, helmet model, and accessory preferences. Consider the following:
As tactical operations and helmet models evolve, so too does the demand for versatile, high-performance Velcro kits capable of supporting the latest gear configurations.
Not all Velcro is created equal, especially when it’s tasked with securing critical tactical accessories in extreme environments. Military-grade helmet Velcro is typically manufactured to withstand intense heat, moisture, abrasion, and repeated use. High-quality loop fields are constructed from durable nylon material with flame-retardant properties, crucial for compliance with operational safety standards. This level of quality ensures that attachments remain fastened even during rapid movement, inclement weather, or under mechanical stress.
In the United States, helmet accessories – especially those marketed for military and law enforcement – are governed by standards such as NIJ 0106.01 (National Institute of Justice standard for ballistic helmets) and MIL-STD-662F (a test method for measuring backface deformation). While these standards primarily assess ballistic and impact resistance, they underscore the importance of accessory components like Velcro not interfering with protective integrity. Ballistic helmet Velcro kits and their adhesives must not compromise shell strength or ballistic performance; reputable manufacturers subject their Velcro designs and attachment methods to rigorous long-term testing in line with these regulations.
Strategic Velcro placement begins with understanding typical accessory workflows. The most common configurations include:
A real-world example: the PGD ARCH GEN3 Ballistic Helmet features wide, securely bonded Velcro panels at the rear and crown, providing dedicated fields for both counterweights and signaling strobes. These layouts allow users to balance gear, remain identifiable, and quickly swap accessories based on operational requirements.
Check out our video to see how you can choose to attach the velcro panels on your PGD ballistic helmet.
Cables for night vision systems, LED lights, and communication headsets often pose a snag hazard or become a source of discomfort. Well-placed, narrow Velcro strips on the helmet’s sides or underneath rail interfaces can securely organize cables, prevent movement, and minimize entanglement risk. Many tactical helmet kits now include thin strips or cable routing loops, keeping wires tight to the shell for streamlined operations.
Each mission profile has unique operational demands. For rescue teams, emphasis may be on prominent IR/reflective panels and comms. Military or law enforcement operators may require minimal visible marking but demand cable management, counterweight balance, and rapid strobe deployment. The modular nature of tactical helmet Velcro means customization is not just possible – it’s encouraged. For best results:
The adaptability fostered by quality Velcro placement is central to operator success and comfort across roles.
Maintaining the functionality of ballistic helmet Velcro is a bit like keeping a beard clean – you can ignore it for a while, but eventually, it’s going to collect all kinds of questionable stuff. Dust, lint, and mystery debris love to move in, and before you know it, your IR patch is hanging on for dear life. Give your Velcro some love by taking a stiff nylon brush to it, like you’re giving it a spa day in the field. When that doesn’t cut it, a blast of compressed air works wonders, sending all the little freeloaders flying. And if you’re rocking adhesive-backed panels, resist the urge to go full chemistry lab – harsh cleaners can do more harm than good. A little routine TLC not only keeps your Velcro gripping like a champ but also lets you spot any wear-and-tear before your counterweight pouch makes a dramatic exit mid-mission.
Like all high-use gear, Velcro eventually degrades under frequent cycling and exposure. Watch for:
When these signs surface, replace worn Velcro promptly. Failing to do so risks equipment loss, distraction, or failure at a critical moment – especially with heavier accessories such as counterweights or battery packs.
Installer error is a common cause of compromised helmet performance. Always:
Proper application ensures your helmet maintains both ballistic performance and accessory readiness. When in doubt, refer to manufacturer guidance or consult experts at Protection Group Denmark for best practices.
The PGD ARCH GEN3 Ballistic Helmet stands at the forefront of modular helmet innovation. Unlike generic kits, the PGD ARCH GEN3 boasts large-format Velcro fields meticulously mapped to match tactical accessory footprints and operator workflows. The rear and top Velcro zones are placed to maximize balance, streamline cable management, and allow rapid relocation of strobes, patches, or counterweights as mission needs shift.
What sets the PGD ARCH GEN3 apart is not simply the size of our Velcro panels, but their flexible mounting options. High-grade adhesive construction ensures accessories remain secure even during running, climbing, or adverse weather conditions, and the modular layout invites users to customize setups for both daily patrols and specialized operations. Compatibility with leading tactical helmet kits and popular accessory manufacturers means you can outfit your helmet to exact mission requirements.
Every aspect of the PGD ARCH GEN3’s Velcro system is engineered for rugged dependability. The Velcro is crafted from heat-resistant, abrasion-resistant nylon for an extended lifecycle under the harshest conditions. Stringent quality control ensures both material consistency and bonding strength, aligned with the latest military and industry standards. Users benefit from a helmet that keeps accessories firmly in place – no matter the operational tempo.
For professionals demanding the very best in comfort, modularity, and safety at a competitive price, the PGD ARCH GEN3 Ballistic Helmet delivers on every front.
Solutions like the PGD ARCH GEN3 Ballistic Helmet exemplify what’s achievable: innovative Velcro integration, rugged materials, and user-oriented design all in one advanced package.
For those seeking assurance in performance, rapid gear reconfiguration, and long-lasting accessory compatibility, look no further than Protection Group Denmark as your trusted source for ballistic helmet solutions and expert advice. Empower yourself with the modular advantage – choose a helmet and Velcro system built for the mission ahead.
Ready to experience the next level in tactical helmet modularity?
Explore the PGD ARCH GEN3 Ballistic Helmet or contact Protection Group Denmark today for personalized recommendations and technical support.
Installer error is a common cause of compromised helmet performance. Always:
– Clean and degrease the helmet surface thoroughly before applying adhesive Velcro.
– Use only manufacturer-recommended products for your ballistic helmet model.
– Avoid over-pressurizing the shell or covering vent holes and impact absorption features with Velcro fields.
Proper application ensures your helmet maintains both ballistic performance and accessory readiness. When in doubt, refer to manufacturer guidance or consult experts such as Protection Group Denmark for best practices.
Strategic Velcro placement begins with understanding typical accessory workflows. The most common configurations include:
– Rear Panel: Ideal for NVG or battery counterweights, improving helmet balance with heavy front-mounted optics.
– Top Panel: Reserved for helmet strobes, infrared markers, or medical ID tiles for overhead identification.
– Side Panels: Perfect for unit patches, cable management, and small pouches.
– Front Panel: Sometimes used for team or rank identification when helmet shrouds are in use.
A real-world example: the PGD ARCH GEN3 Ballistic Helmet features wide, securely bonded Velcro panels at the rear and crown, providing dedicated fields for both counterweights and signaling strobes. These layouts allow users to balance gear, remain identifiable, and quickly swap accessories based on operational requirements.
Like all high-use gear, Velcro eventually degrades under frequent cycling and exposure. Watch for:
– Significant loss of “grab” or accessory slipping.
– Loop material flattening, balding, or separation from the shell.
– Adhesive peeling or moisture infiltration under the Velcro base.
When these signs surface, replace worn Velcro promptly. Failing to do so risks equipment loss, distraction, or failure at a critical moment—especially with heavier accessories such as counterweights or battery packs.
Protect what matters.
We’ve moved our U.S. sales
Protection Group Denmark products are now available in the United States exclusively through our official distributor, Colorado Gun Fighter. This store is no longer accepting new orders — please continue your purchase there.
Already placed an order with us? Don’t worry — all existing orders will be fulfilled as normal.
Shop at Colorado Gun Fighter